
Hiking Skills
Read Contour Lines Before Choosing a Route
Explain contour intervals and close versus wide lines without implying that a map alone captures trail condition or surface.
On this page
Understand what a contour line represents
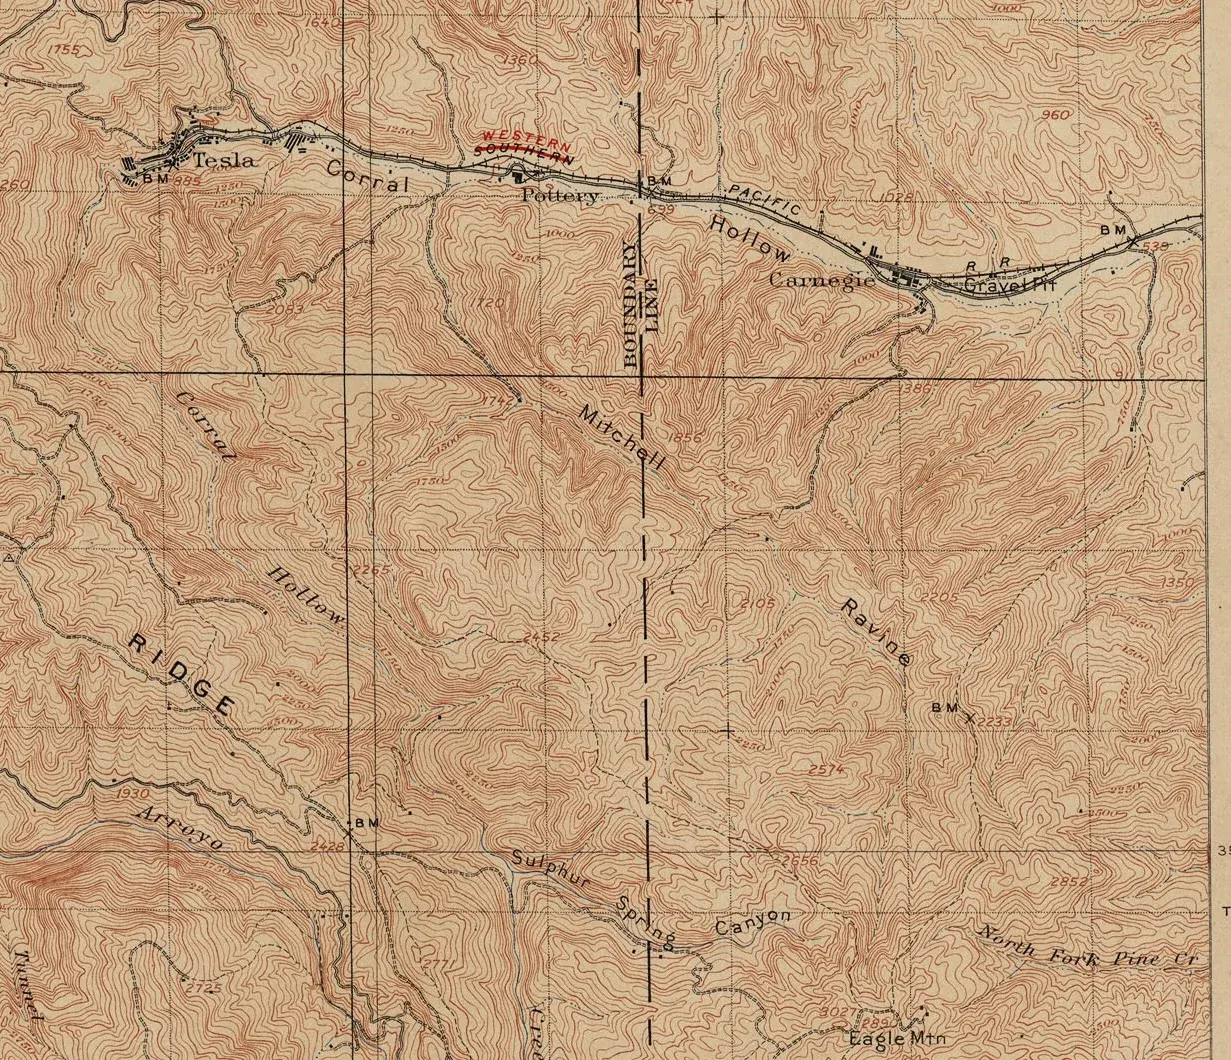
A contour line joins points at the same elevation. The contour interval in the map legend tells you how much elevation changes between adjacent lines. Read that interval before estimating a climb: maps of different areas may use different intervals, and the same number of lines can represent different amounts of ascent. Index contours may be darker or labeled to make elevation easier to follow.
Contour lines describe terrain shape, not trail condition. They do not tell you whether a path is maintained, muddy, icy, exposed, closed, or suitable for the people in your group. Combine the map with an official trail description and current local information.
Use spacing to compare slope
Closely spaced contour lines indicate a steeper slope than widely spaced lines, assuming the same map and interval. Lines that form repeated V shapes can show valleys or drainage features; the direction of the V and surrounding terrain help interpret which way water flows. Rounded nested lines may indicate hills or summits, but labels and surrounding features are needed to tell what the map depicts.
Use those patterns to ask useful planning questions. Does the route climb steadily or gain most of its elevation in a short section? Is there a steep descent late in the day? Does the trail cross a valley or follow a ridge? How much time and energy might a steep section add for this group? Avoid turning a visual impression into a precise pace prediction.
Read a route as more than total ascent
Two trails can have the same distance and total climb while feeling very different. One may climb gradually; another may include repeated short climbs and descents, loose ground, or exposed traverses. Trace the route and notice where contour spacing changes, where it crosses drainages, and where an easier exit might exist. Check the map scale and the trail’s direction so you do not mistake a nearby line for the route you intend to follow.
Digital elevation profiles can help show a sequence of climbs, but their data and resolution vary. Compare them with the land manager’s route information and a suitable map. A profile cannot reveal every scramble, switchback, surface problem, or seasonal hazard.
Estimate a climb without mistaking it for effort
Count the contour intervals a route crosses and multiply by the interval shown in the legend to estimate elevation change. Check whether the route descends and climbs again; total ascent can be greater than the difference between the trailhead and its highest point. Measurements from a digital map may be approximate, so use them to compare options rather than promise an exact time or difficulty.
Effort depends on more than elevation. A gradual climb on stable ground may feel different from a short steep slope on loose rock. Heat, pack weight, altitude, footing, and the group’s experience also matter. Read route notes for surfaces and exposure, and ask whether someone in the group has practiced similar terrain. If the answer is no, choose a route with more room to pause or turn around.
Trace features around the trail
Before leaving, follow the route on the map and locate the ridges, valleys, drainages, and saddles it crosses. Note where a steep side slope or narrow valley could affect travel, and where an alternate route might exist. A contour pattern cannot show every cliff, unstable slope, or water hazard, so do not use it alone to decide that an off-trail shortcut is safe.
At a junction, compare the map’s terrain with what you can actually see. A creek may be hidden by trees, and a ridge may look different from below. Use more than one recognizable feature when confirming location. If the ground does not match the expected pattern, pause and check the route from the last known point rather than continuing on a guess.
Practice on an easy route
Select a short maintained trail with a clear map and a modest elevation profile. Predict where the climb should begin, where the slope should ease, and where a valley crossing should appear. Check those observations at safe stopping points. You do not need to interpret every line while walking; the aim is to connect the legend and map shape with terrain you can verify.
After the outing, compare the map’s profile with the effort the group experienced. Note which details were useful and which were hard to read. On a future trip, check the map date and official route information again. Elevation data and mapped trails are reference tools, not current condition reports.
Practice on familiar ground
Choose a short route with clear map detail and compare contour patterns with visible hills and valleys. Identify your location at known trail junctions rather than trying to interpret every contour while moving. If the terrain does not match what you expect, stop and reassess before continuing. For complex terrain or travel away from maintained paths, seek appropriate navigation training and follow the local authority’s guidance.
FURTHER READING
Sources and scope
These references support the general principles above. Their geography and publication dates vary; check the current local authority for your trip.
- Topographic MappingU.S. Geological Survey
USGS describes its own mapping products; symbol conventions and maps vary by country.
- Ten EssentialsU.S. National Park Service
NPS explains this as a starting point that may need additions for a particular activity or place.
- Topographic Map SymbolsU.S. Geological Survey
Use the legend printed on the actual map; symbol conventions are not universal.
- US Topo Cartographic Specifications - Map Symbol GuideU.S. Geological Survey
Read the source in its stated context; examples do not establish worldwide local requirements.
TAKE THE NEXT STEP