
Choose Your Gear
Pack a Backpack for Hiking
Balance stable load placement with quick access to navigation, layers, water, and emergency items; keep critical gear reachable.
On this page
Organize access by when an item is needed
Packing is a retrieval problem as well as a space problem. The same equipment can be arranged so that a layer is easy to reach at a windy stop or buried beneath everything else. This guide assumes you have a pack appropriate to the load. It addresses where equipment goes and how to keep it stable; the separate fitting article explains adjustment against your body.
Make a short sequence of likely tasks: identify the first junction, drink, add weather protection, eat at a stop, and respond to an unexpected delay. Put the actual items beside those tasks. Then consider which must stay dry, which could leak, and which have sharp or hard parts that need to be isolated from vulnerable equipment. Follow the pack's instructions rather than forcing objects into compartments not designed for them.
Rehearse a stop before leaving home
In a hypothetical packing rehearsal, imagine rain starts at a junction. Ask someone to name the map and outer layer you would use, then retrieve them with the pack resting safely. If getting the jacket requires spreading dry sleep equipment on wet ground, the arrangement needs revision. This is a dry rehearsal, not a recommendation to expose equipment to bad weather for a test. Repeat the task with everything repacked so you know where it belongs.
Keep a simple inventory linked to locations, such as top pocket, protected inner compartment, or a securely fastened accessible pouch. Shared equipment should be findable by another group member without rummaging through private belongings. Check the pack with its real contents, not empty: pockets and closures behave differently when the main compartment is full. Once an arrangement works, resist filling unused space with objects that have no role in the outing. The following sections address stability, weather protection, and quick access while keeping the route's actual requirements in view.
Pack around a simple inventory
Begin with the route, weather, group, and time away from reliable help. Make a short list of essentials, personal items, and shared equipment, then check each item against those conditions. Remove duplicates and objects that do not serve the outing, but do not remove required safety or medical supplies simply to make the pack lighter. If the equipment does not fit, reconsider the route, duration, or carry system before departure.
Group small items in pouches or dry bags when that makes them easier to find. Keep food, waste, and scented products organized according to the destination’s animal-storage instructions. Protect items that must stay dry, while avoiding unnecessary layers of packaging that add bulk. Labeling a shared group pouch can help another person find it if the person carrying it is not nearby.
Place weight for balance and stability
Follow the pack maker’s guidance because frames and compartments differ. In many packs, heavier objects sit close to the back and near the center of the load; this can reduce leverage as you walk. Keep hard edges away from your spine and use softer items to fill gaps so contents do not shift. Avoid loading one side heavily, which can pull the pack unevenly across the shoulders.
Check that the load remains stable while climbing, descending, and turning. Secure loose straps and items that could swing, snag, or fall. A bulky sleeping bag or tent may fit better in a designated compartment or under the pack, depending on the model and weather. Do not attach critical equipment where it can be lost without you noticing.
Keep time-sensitive items accessible
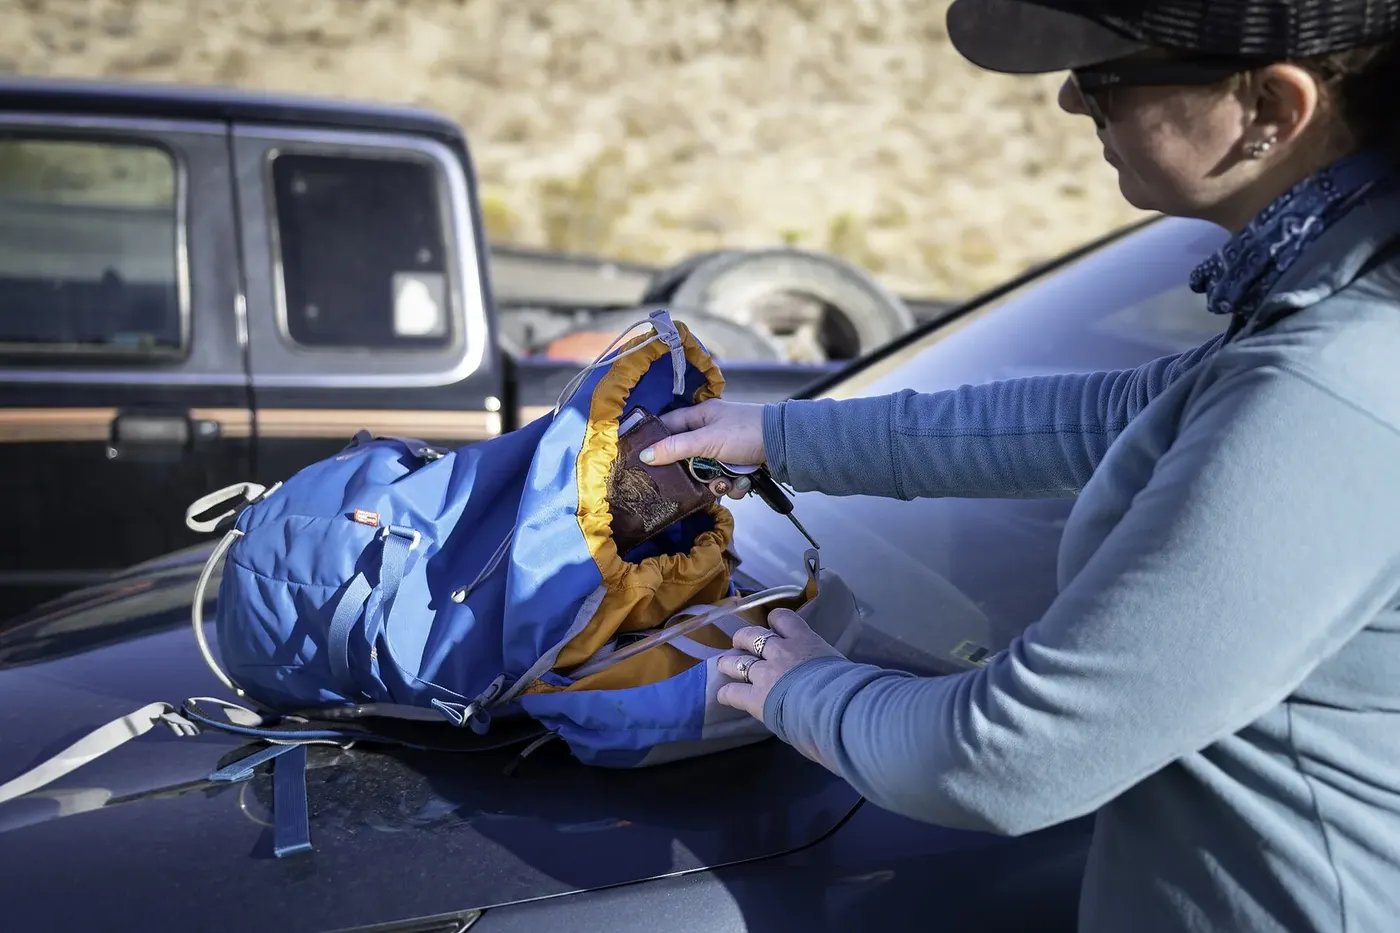
Put water, navigation, rain protection, a warm layer, snacks, light, and first-aid supplies where you can reach them in the conditions you expect. The exact arrangement depends on your pack and whether you hike alone. Test access with the pack on; if you must remove and unpack everything to retrieve a map or layer, move that item before the trip.
Keep personal medication and emergency items with the person who needs them. If the group shares equipment, agree who carries each item and whether each person can navigate or communicate if the group separates. Some trips and places require specific equipment or permits; confirm those details with the responsible authority rather than relying on a general checklist.
Protect gear without blocking ventilation
Rain can enter through zippers, seams, and open pockets even when a pack fabric is treated. Use an internal liner or separate dry bags for items that must remain protected, then test the arrangement before a wet outing. Avoid sealing damp clothing or a wet shelter with dry sleep equipment unless the compartments keep them separated. For hot weather, store food and water so they remain accessible and follow any local temperature-related handling instructions.
Check closures, buckles, and straps after packing. Make sure the top closes without excessive force and that nothing presses uncomfortably against your back. Keep a small repair item only if you know how to use it and it is suitable for the likely issue. Do not depend on a repair kit to make damaged load-bearing equipment safe.
FURTHER READING
Sources and scope
These references support the general principles above. Their geography and publication dates vary; check the current local authority for your trip.
- How to Pack a Backpack for Backpacking & HikingREI Expert Advice
Retailer advice; organize gear to fit the pack, trip, and user's needs.
- Ten EssentialsU.S. National Park Service
NPS explains this as a starting point that may need additions for a particular activity or place.
TAKE THE NEXT STEP